Final Project: Clock
For our final project we needed to make a Clock face. We were given the hands and Clock mechanisms but we needed to make the numbers clock stand and clock face out of three different machines in the Innovation center. I decided to make the clock face out of mat board, the numbers using the vinyl cutter, and a clock stand using the 3D printer. Everything was pretty basic because we have used all of the machines before, the only hard part was decided how and what to do for each part.

Clock Idea from internet.

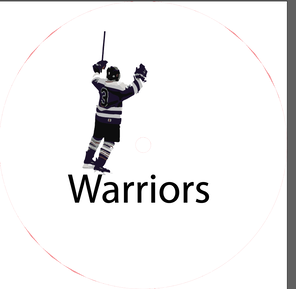
Picture for design on clock
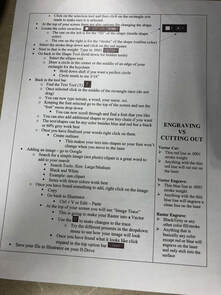
Laser engraving directions to design clock on illustrator and print onto laser engraver.

Edit picture to be what is wanted and to be able to print on laser engraver.
Create clock to wanted dimensions and add designs
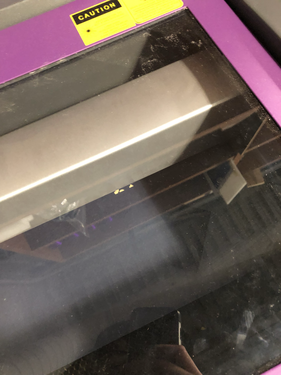
Print onto laser engraver using directions from above.
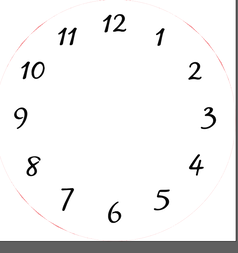
design clock numbers on illustrator using the sheet from above.
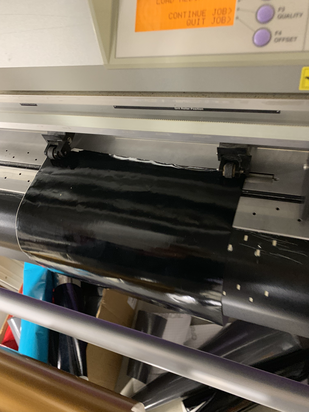
Print out numbers onto the vinyl cutter.
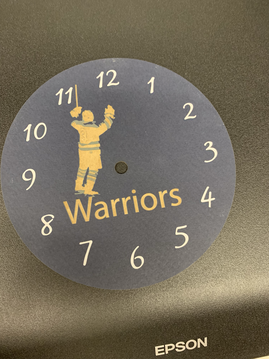
mat board clock after being printed out from laser engraver and with vinyl numbers.
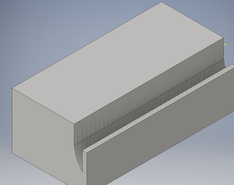
design 3D design for the clock stand on inventor.
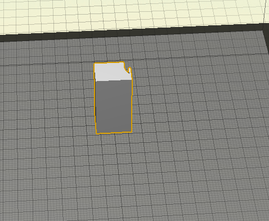
Copy stand onto Maker bot to print onto the 3D Printer
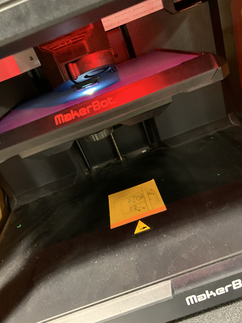
Print onto the 3D printer using a Flashdrive.
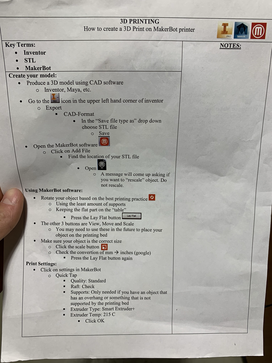
Print on 3D printer using these directions.
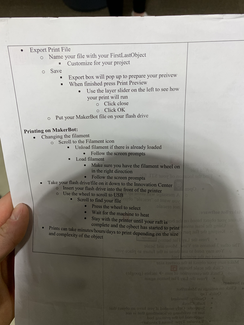
Back side of 3D printer directions
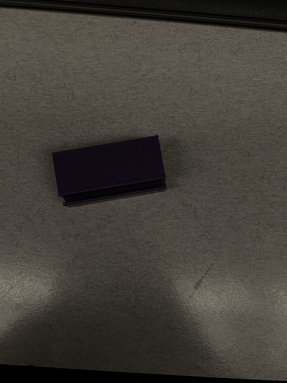
Finished 3D print clock stand
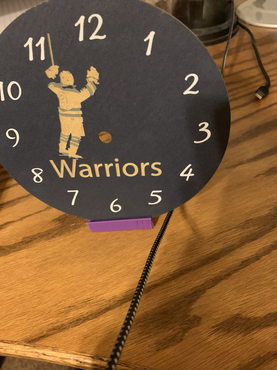
Clock with all three machine designs
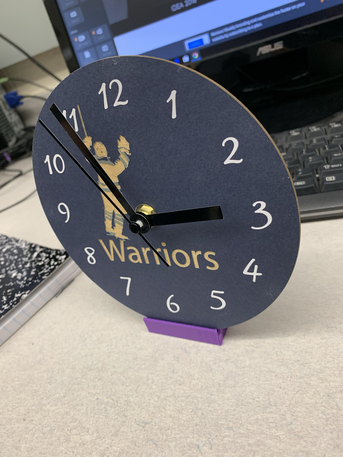
finished clock
